You need to have a working Netlify CMS integration in your existing Gatsby project to apply this method.
Command npm install --save netlify-cms-media-library-cloudinary.
For the sake of this tutorial, let’s create a file by the name cms.js and we store this in src/cms.js . It’s needless to say you can modify file name or the path location as you wish. We need to import the package that we added in the begining , so add this code below in the cms.js file
import CMS from "netlify-cms-app";
import cloudinary from "netlify-cms-media-library-cloudinary";

CMS.registerMediaLibrary(cloudinary);
We need to update the existing gatsby-config.js file to something like this to register cloudinary module -
  {
    resolve: `gatsby-plugin-netlify-cms`,
    options: {
      modulePath: `${__dirname}/src/cms.js`
    }
  },
And finally update the netlify config.yml by this code below.
media_library:
name: cloudinary
config:
cloud_name: your_cloud_name
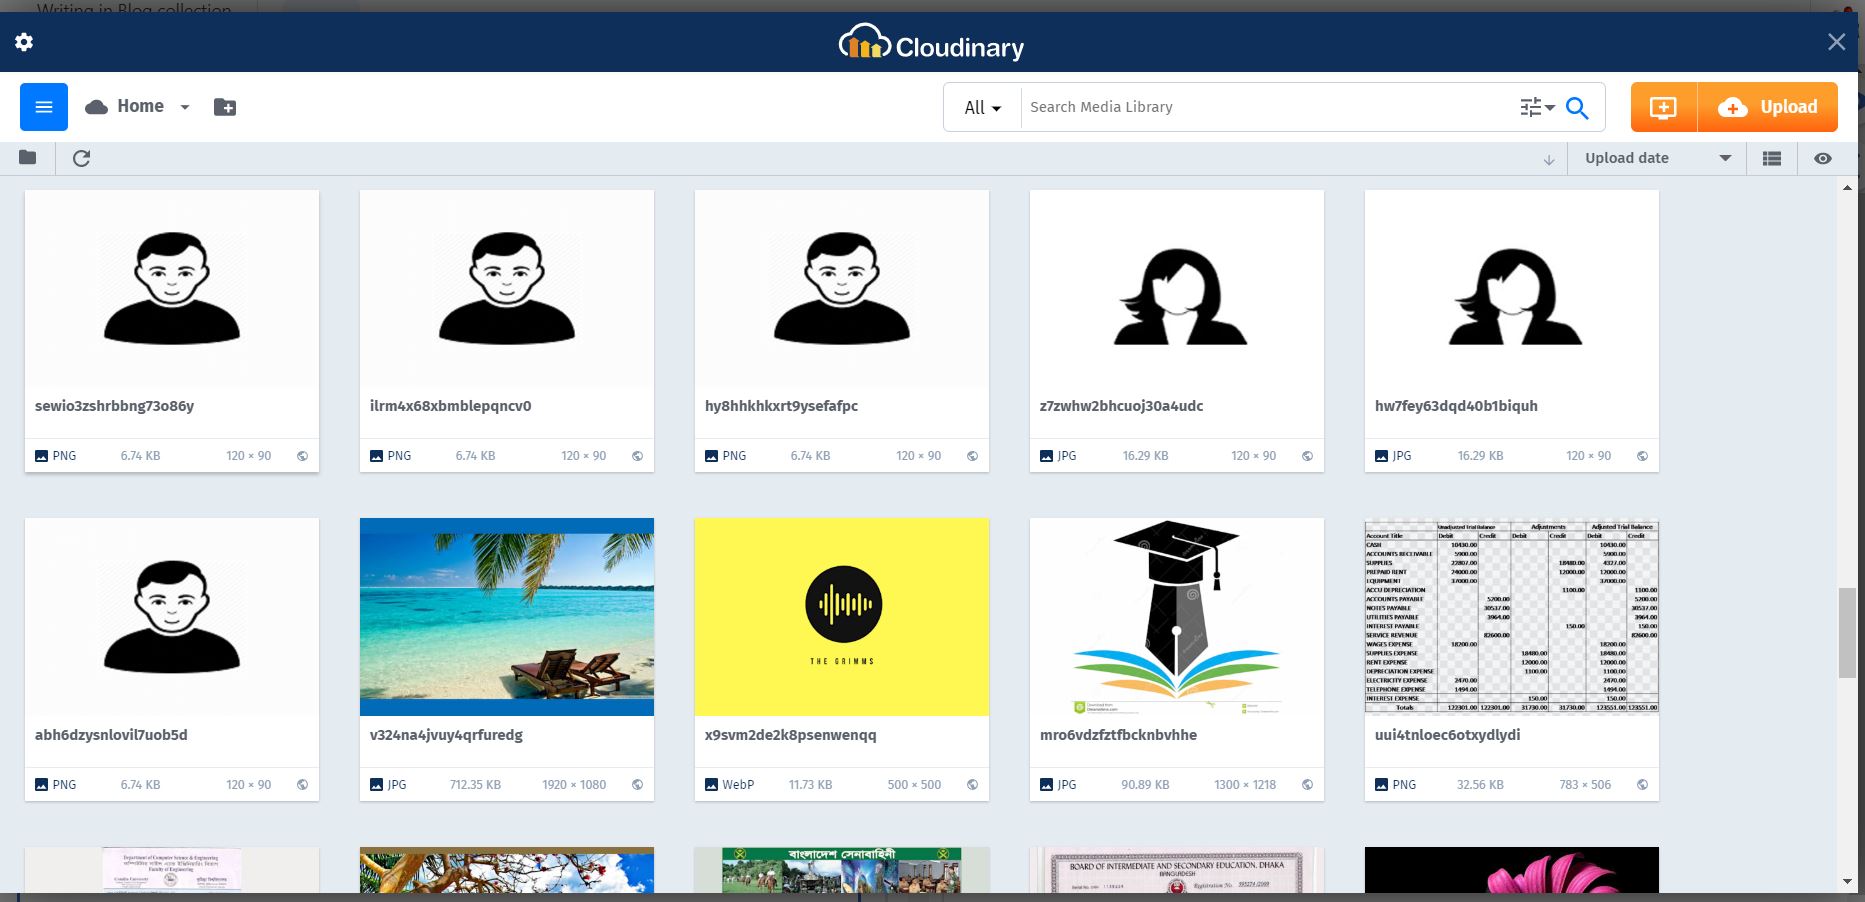
api_key: your_api_keyIf everything goes right , you will have the ability to add images from cloudinary in your netlify cms dashboard like this image below